
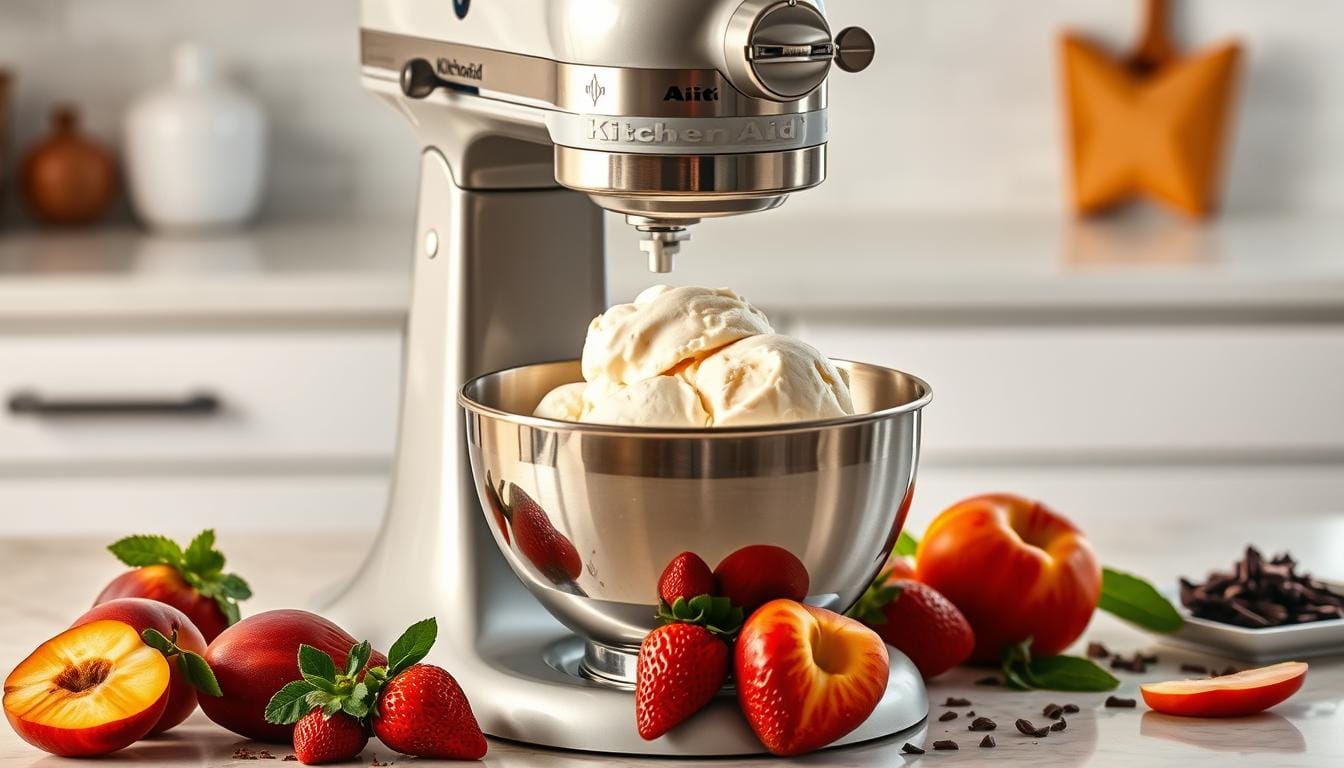
Enjoy Easy Homemade KitchenAid Ice Cream in 5 Steps
Imagine the warm summer days in Mississippi, with temperatures reaching 100°F. The only thing that can cool you down is a scoop of your favorite homemade ice cream. With a KitchenAid stand mixer and the ice cream attachment, you can make delicious homemade ice cream quickly.
You’ll need just a few ingredients like heavy cream, whole milk, sugar, vanilla extract, and salt. Plus, some basic equipment. You can pick from many kitchenaid ice cream flavors. Enjoy the creamy texture and taste of homemade ice cream.
Making homemade ice cream with your KitchenAid mixer is fun and rewarding. Whether you’re new or experienced, you can create many flavors. In this article, we’ll show you how to make delicious homemade ice cream with your KitchenAid mixer. We’ll use kitchenaid ice cream recipes and attachments.
Table of Contents
Key Takeaways
- You can make homemade ice cream with just 5 ingredients: heavy cream, whole milk, sugar, vanilla extract, and salt.
- The recommended freezing time for the KitchenAid Ice Cream bowl is at least 15 hours, with an optimal time of 24 hours.
- Churning time for ice cream ranges from 15 to 30 minutes, depending on indoor temperature.
- Homemade ice cream can be stored in the freezer for up to 6 months.
- The KitchenAid Ice Cream Attachment is a cost-effective option, priced at approximately $70.
- You can customize your homemade ice cream with various mix-ins, such as chocolate syrup, crushed OREO cookies, or fresh strawberries.
Understanding Your KitchenAid Ice Cream Attachment
To start making homemade ice cream, you need to know your KitchenAid ice cream attachment. It’s a must-have for ice cream lovers, making it easy to create your favorite flavors at home. The attachment costs about $70, which is cheaper than most standalone ice cream churners.
The attachment has a bowl, churn, and dasher. Knowing how these parts work together is key for perfect ice cream. The bowl can freeze ice cream in about 20 minutes. It fits most KitchenAid bowls, saving space compared to standalone ice cream makers.
Key Components and Assembly
Assembling the KitchenAid ice cream attachment is easy. You attach the bowl to the mixer, then add the churn and dasher. Make sure to follow the instructions carefully for a secure fit. The machine is designed for beginners, making it simple to start making homemade ice cream.
Care and Maintenance
To keep your KitchenAid ice cream attachment in top shape, follow the care and maintenance tips. Wash the bowl and churn after each use and store them dry. The bowl needs to be frozen for 14-16 hours before use for the best ice cream texture. By following these tips, your attachment will last for years.
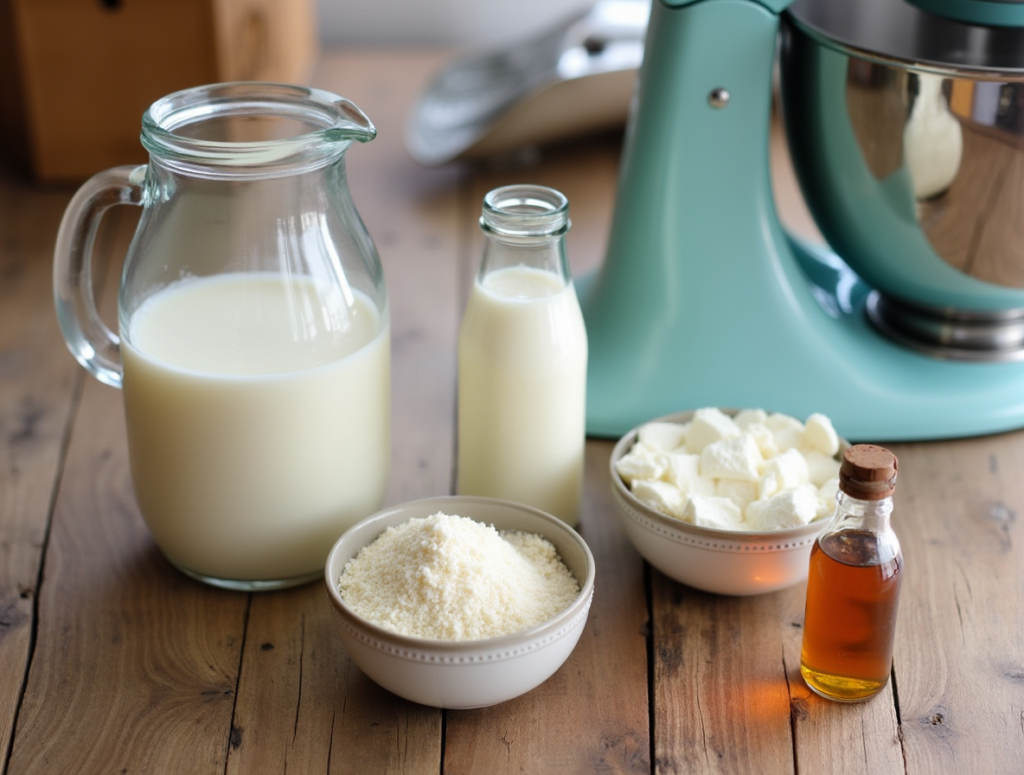
Essential Ingredients for Perfect KitchenAid Ice Cream
To make the perfect kitchenaid mixer ice cream recipe, choose top-notch ingredients. You’ll need heavy cream, whole milk, sugar, and vanilla extract. These basics will give your ice cream a rich, creamy taste. Then, you can add your favorite flavors and mix-ins for a unique taste.
Using a best kitchenaid ice cream attachment helps get the right texture. With the right tools and ingredients, you can make many flavors to please your taste buds.
Here are the key ingredients to start:
- Heavy cream
- Whole milk
- Sugar
- Vanilla extract
These ingredients form a solid base for your ice cream. You can then add other flavors and mix-ins for a unique taste. With a kitchenaid mixer ice cream recipe and the best kitchenaid ice cream attachment, you’re on your way to making perfect homemade ice cream.
The quality of your ingredients affects your ice cream’s taste and texture. Choose the best ingredients and use the right equipment. This way, you can make delicious and unique flavors that will wow everyone.
| Ingredient | Quantity |
|---|---|
| Heavy cream | 1 1/2 cups |
| Whole milk | 2 cups |
| Sugar | 1/2 cup |
| Vanilla extract | 2 teaspoons |
Preparing Your Ice Cream Base
When making ice cream, the base is key. You can pick from custard, Philadelphia-style, or no-cook bases. Each has its own way of making ice cream smooth and creamy. Kitchenaid ice cream maker reviews often talk about how important a good base is.
First, choose your base type. Custard bases need cooking, while Philadelphia-style bases don’t. No-cook options are quick and easy. Always use top-notch ingredients and follow the recipe closely.
Custard-Based Recipes
Custard bases are a favorite among ice cream makers. They’re cooked to achieve a creamy texture. To make custard ice cream, mix cream, sugar, and eggs in a saucepan. Cook over low heat, stirring constantly, until thickened. Then, let it cool.
Philadelphia-Style Bases
Philadelphia-style bases are also popular. They mix cream, sugar, and flavorings without cooking. Simply combine the ingredients in a bowl for a quick ice cream base.

No-cook options are great for fast ice cream making. They involve mixing ingredients in a bowl. No-cook bases are ideal for quick, easy ice cream. With a Kitchenaid ice cream maker, you can make delicious ice cream at home.
| Type of Base | Description |
|---|---|
| Custard-Based Recipes | Involve cooking the base to create a smooth and creamy texture |
| Philadelphia-Style Bases | Use a mixture of cream, sugar, and flavorings, but don’t require cooking |
| No-Cook Options | Involve combining the ingredients in a bowl and mixing them together |
Pre-Freezing and Setup Requirements
To make perfect KitchenAid ice cream, pre-freezing the bowl is key. Pre-freezing it for at least 15 hours helps your ice cream churn right. You can find kitchenaid ice cream attachment tips in the user manual or online. These will help you set up the attachment.
Before churning, make sure your mixture is chilled and ready. This step is crucial for making easy kitchenaid ice cream recipes. You can chill the mixture in the fridge until you’re ready to churn.
Here are some important things to remember when pre-freezing and setting up your KitchenAid ice cream maker:
- Pre-freeze the bowl for at least 15 hours
- Assemble the attachment according to the manufacturer’s instructions
- Chill the mixture in the refrigerator before churning
By following these steps and using your KitchenAid ice cream maker, you can make delicious ice cream at home. Always follow the manufacturer’s instructions and kitchenaid ice cream attachment tips for the best results.
With the right setup and pre-freezing, you can make many easy kitchenaid ice cream recipes. Try different ingredients and flavors to find your favorite.
| Ice Cream Flavor | Ingredients | Churning Time |
|---|---|---|
| Vanilla | 2 cups cream, 1 cup milk, ¾ cup sugar, 1 tablespoon vanilla extract | 20 minutes |
| Chocolate | 2 cups cream, ½ cup cocoa powder, 1 cup sugar, 4 ounces melted dark chocolate | 20 minutes |
| Strawberry | 2 cups fresh strawberries, ½ cup sugar, 2 cups heavy cream, 1 cup milk | 20 minutes |
Making Ice Cream with Your KitchenAid Mixer
To make delicious ice cream, you need the kitchenaid stand mixer ice cream attachment. This attachment turns your mixer into a home ice cream maker. It lets you create many flavors easily.
First, chill the ice cream mixture for 12-16 hours. This step is crucial for a smooth texture. Next, attach the ice cream maker to your mixer. Pour the chilled mixture in and start churning.
Churning should take at least 25 minutes. In warmer rooms, it might take up to 30 minutes. Check the ice cream’s texture. When it’s thick and creamy, it’s ready. Then, freeze it for 2-3 hours before serving.
- Choose high-quality ingredients for a rich flavor.
- Add nuts, chocolate chips, or fruit for unique flavors.
- Follow the attachment’s instructions for the best results.
The kitchenaid stand mixer ice cream attachment lets you make many flavors at home. From classic vanilla to matcha or strawberry, it’s easy to please everyone with homemade ice cream.
Mix-In Ideas and Flavor Combinations
When making homemade kitchenaid ice cream recipes, the fun never ends. You can mix in nuts, fruit, candy, or cookie dough. Try these mix-in combos for a taste of something new:
- Oreos and vanilla ice cream
- Reese’s and peanut butter ice cream
- Marshmallows and strawberry ice cream
- Graham crackers and mint chocolate chip ice cream
To mix these flavors, add your ingredients to the ice cream base after it churns. For instance, with a how to make ice cream with kitchenaid mixer recipe, add mix-ins in the last minute. This spreads them out evenly.
Here are more mix-in ideas:
| Mix-in | Flavor Combination |
|---|---|
| Pretzels | Vanilla ice cream with pretzels |
| Chocolate fudge | Vanilla ice cream with chocolate fudge and M&M’s |
| Peanut butter cups | Chocolate ice cream with peanut butter cups |
Remember, the secret to amazing homemade kitchenaid ice cream recipes is to have fun and experiment. Try new mix-ins to find your favorite flavors. With practice, you’ll be whipping up how to make ice cream with kitchenaid mixer like a pro!
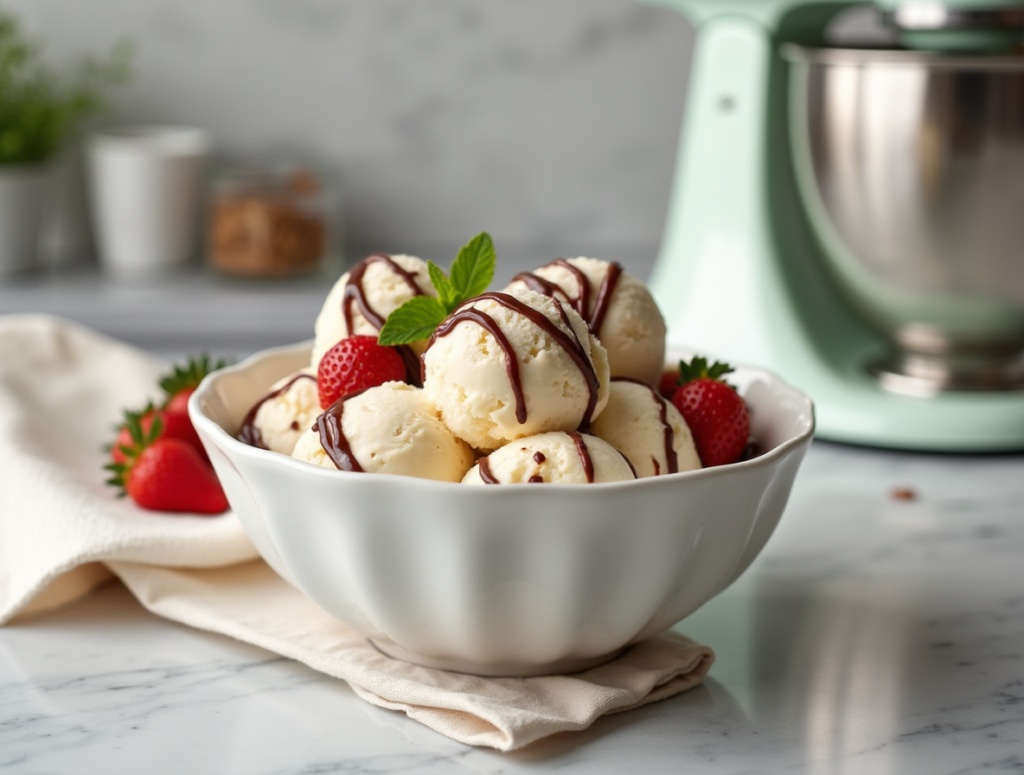
Storage and Serving Tips
After making ice cream with a KitchenAid ice cream maker, it’s key to store it right. This keeps its texture and taste perfect. For the best results, check out kitchenaid ice cream maker reviews. Store your ice cream in airtight containers to keep air out.
The best freezer temperature for ice cream is 0°F (-18°C). Make sure your freezer is at this setting.
When serving, get creative with toppings and sauces. For unique flavors, see kitchenaid ice cream attachment tips. Here are some ideas:
- Top your ice cream with fresh fruits, nuts, or candy pieces
- Drizzle with chocolate or caramel sauce
- Mix in some cookie dough or brownie bits
Follow these tips to enjoy your homemade ice cream longer. Always check your freezer’s temperature. Store your ice cream in airtight containers. With practice, you’ll make delicious ice cream. For more tips, read kitchenaid ice cream maker reviews and kitchenaid ice cream attachment tips.
Troubleshooting Common Issues
When making easy kitchenaid ice cream recipes, you might face some common problems. These can include texture issues, freezing problems, or issues with the machine. Knowing the causes helps you fix these problems and get perfect results every time.
Texture issues can come from unbalanced recipes or not freezing enough. Freezing problems, like frost or dirty coils, can also affect your ice cream’s quality. Machine problems, like faulty thermistors or compressors, might need a pro to fix.
Texture Problems
To solve texture issues, use balanced recipes and freeze correctly. Make sure to pre-freeze the bowl for at least 12 hours. Also, chill the mixture to the right temperature before churning.
Freezing Concerns
To fix freezing issues, clean the condenser coils often and check the freezer’s temperature. Store your ice cream in a sealed container to avoid frost and keep the freezer at the right temperature.
Machine-Related Issues
For machine problems, like faulty thermistors or compressors, get a pro. If your kitchenaid stand mixer ice cream attachment isn’t working right, call a authorized service technician for help.
By following these tips and using your kitchenaid stand mixer ice cream attachment right, you can make delicious and creamy ice cream at home.
| Common Issue | Cause | Solution |
|---|---|---|
| Texture Problems | Unbalanced recipes or inadequate freezing times | Use balanced recipes and follow proper freezing procedures |
| Freezing Concerns | Frost build-up or dirty condenser coils | Regularly clean the condenser coils and check the freezer’s temperature |
| Machine-Related Issues | Faulty thermistors or compressor problems | Contact a authorized service technician for assistance |
Advanced Techniques for Gourmet Results
To make your kitchenaid ice cream even better, try new flavors and presentation ideas. With practice and patience, you can make ice cream as good as store-bought. Use the best ice cream maker and try different homemade ice cream recipes.
Some advanced techniques include:
- Infusing your ice cream with unique flavors, such as herbs or spices
- Adding mix-ins, such as nuts or candy pieces, for added texture and flavor
- Creating layered or swirled effects with different colors and flavors
By trying these techniques and using top-quality ingredients, you can make amazing homemade ice cream recipes. Impress your friends and family with your creations. Always use the best ice cream maker and follow the right kitchenaid ice cream making methods for the best results.
Conclusion: Your Journey to Ice Cream Mastery
Mastering homemade ice cream with your KitchenAid mixer is a fun journey. You’ve learned tips and techniques to make delicious, creamy ice cream. Now, you can create a variety of flavors in your kitchen.
Whether you love classic vanilla or want to try new flavors, the kitchenaid ice cream attachment lets you be creative. With practice and patience, you’ll impress everyone with your homemade ice cream.
Start your ice cream journey now. Try new flavors and enjoy making your own unique ice cream. Your journey to ice cream mastery is just starting, and it’s going to be sweet. Happy churning!
More Recipes: Variation Recipes
FAQ
What are the essential ingredients for making perfect KitchenAid ice cream?
What are the different types of ice cream bases I can use with my KitchenAid mixer?
How do I properly set up and pre-freeze the KitchenAid ice cream attachment?
What are the proper speed settings and churning time guidelines for making ice cream with my KitchenAid mixer?
What are some common issues I might encounter when making ice cream with my KitchenAid mixer, and how can I troubleshoot them?
How can I take my ice cream making to the next level and create gourmet results with my KitchenAid mixer?
Tell us your comment .
There are no reviews yet. Be the first one to write one.